Compress Images Without Losing Quality: 7 Practical Steps
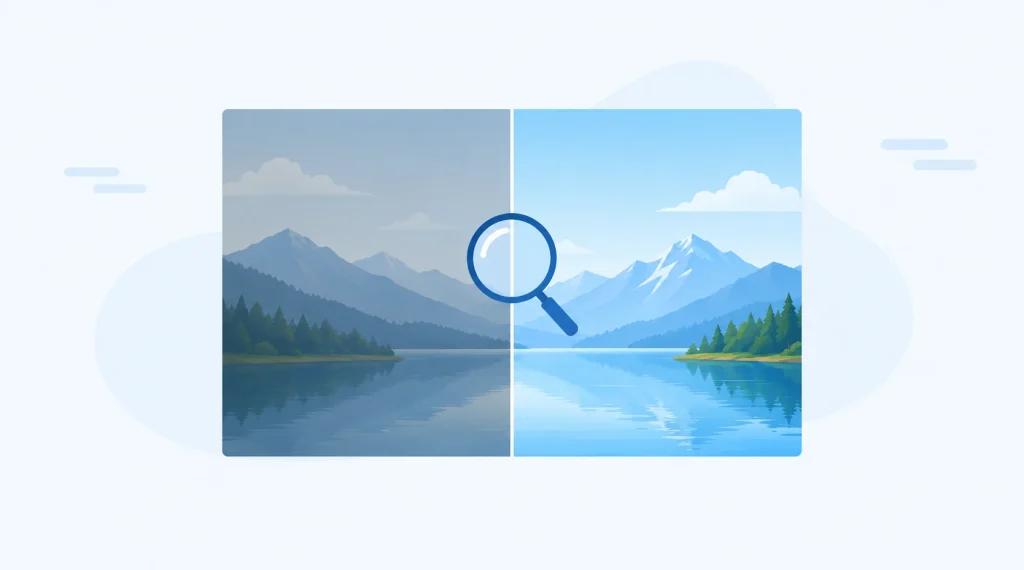
You can compress images without losing quality that anyone will actually notice. Most of the time the file isn’t big because it’s under-compressed. It’s big because someone dropped a 4,000-pixel photo into a spot that displays it at 800.
So the order matters. Shrink the dimensions first, pick a sensible format, compress, then check the result with your own eyes. That’s seven steps, and once you’ve done them a few times, an image takes about a minute.
Can you compress images without losing quality?
Sort of, and the “sort of” is worth understanding.
Lossless compression really does lose nothing. The image can be rebuilt exactly, pixel for pixel. The catch is that the savings are often modest, especially on photos.
Lossy compression throws away detail your eyes are bad at noticing. Go gently and you’ll struggle to spot a difference. Go too hard and you get blocky patches, muddy edges, and fuzzy halos around text.
For most website images, gentle lossy compression is the sweet spot. When people say they want no quality loss, they usually mean no loss they can see. That’s the goal here.
Step 1: Resize before you compress
Resolution is the biggest lever you have. A photo that’s 4,000 pixels wide has about 25 times as many pixels as one that’s 800 wide.
Check how wide the image actually shows on your page. Then export it at roughly double that if you want it sharp on high-density screens, and no more. An image shown at 800 pixels rarely needs to be wider than about 1,600. That’s a rule of thumb, not a law.
Step 2: Pick a format that fits the picture
Photos do well as JPEG or WebP. Screenshots, logos and anything with sharp text usually behave better as PNG. If you need transparency, JPEG is out, because it can’t do it.
WebP handles lossy, lossless and transparency, and current major browsers support it. Don’t assume it always wins, though. Convert one of your own images and compare the two files. JPG to WebP converter makes that easy. For a plain-English rundown of every format, the MDN image format guide is worth a bookmark.
Step 3: Compress, and stop earlier than you think
Now run the image through the OpenPress Image Compressor.
If you get a quality setting, plenty of people land somewhere around 75 to 85 for photos. Treat that as a starting point, not a rule. The way to compress images without losing quality is to stop at the first setting that looks fine, not to chase the smallest file you can get.
Step 4: Compare at the size people will see it
Put the original and the compressed version side by side at the size they’ll appear on your page. Then zoom in and check the usual trouble spots: skin, hair, leaves, sky gradients, and the edges of text.
One warning. If you zoom to 300%, you’ll always find flaws. Judge it at the size your readers will actually see.
Step 5: Always compress from the original
Re-saving a lossy file over and over stacks the damage, like photocopying a photocopy. Keep the original and export a fresh copy every time. Don’t delete it until the new image is live and looks right.
Step 6: Check the awkward cases
Three things trip people up. JPEG flattens transparency, usually to a solid background. Converting an animated image can leave you with a still frame. And screenshots with small text often look smeared as JPEG. A quick look at the result catches all three.
Step 7: Write down what worked
If you publish images regularly, note the settings that worked, such as “blog photos: 1,600 pixels wide, WebP, [setting]”. It saves you re-testing every time.
To see how much you saved, use this: (original size − new size) ÷ original size × 100. So 1 MB down to 600 KB is roughly a 40% reduction. That’s just arithmetic, not a result from our tool.
Quick answers
Is WebP better than JPEG?
Not automatically. Test both on your image and compare the file sizes and how they look.
Does compressing change an image’s dimensions?
No. Compression changes how the data is stored, while resizing changes the pixel dimensions. They’re two separate jobs.
How small should a website image be?
There’s no magic number. Aim for the smallest file that still looks right at the size it’s shown.
The short version
Resize, choose a format that suits the picture, compress gently, compare at real size, and keep your original. Try the OpenPress Image Resizer on one of your own images and judge it by eye. To compress images without losing quality, how the picture looks on the page matters more than the number on the file.
