Breaking News


Enter your email address below and subscribe to our newsletter
Software reviews & tutorials you can actually trust.
Struggling to get your first WordPress site online? I remember staring at my hosting dashboard, completely lost. After years of helping beginners, I have created this foolproof guide on how to install WordPress on Hostinger in just a few minutes.
Let me start with a confession.
When I first started building websites, I was terrified of the “installation” process. I thought I needed to be a developer to get WordPress running. I avoided it for weeks, convincing myself it was too technical. When I finally tried, I was shocked at how wrong I was.
The truth is, learning how to install WordPress on Hostinger is one of the easiest things you will ever do online. It is easier than setting up a social media account. It is easier than installing software on your computer. And once you know how to do it, you will wonder why you were ever nervous.
In this guide, I will walk you through every single step of how to install WordPress on Hostinger. I will cover two different methods so you can choose the one that works best for you. By the end of this tutorial on how to install WordPress on Hostinger, you will have a live website ready to go.
Let me show you just how simple this WordPress installation process really is.
Before we dive into how to install WordPress on Hostinger, let me make sure you have everything ready. The good news is that you only need three things, and you probably already have most of them.
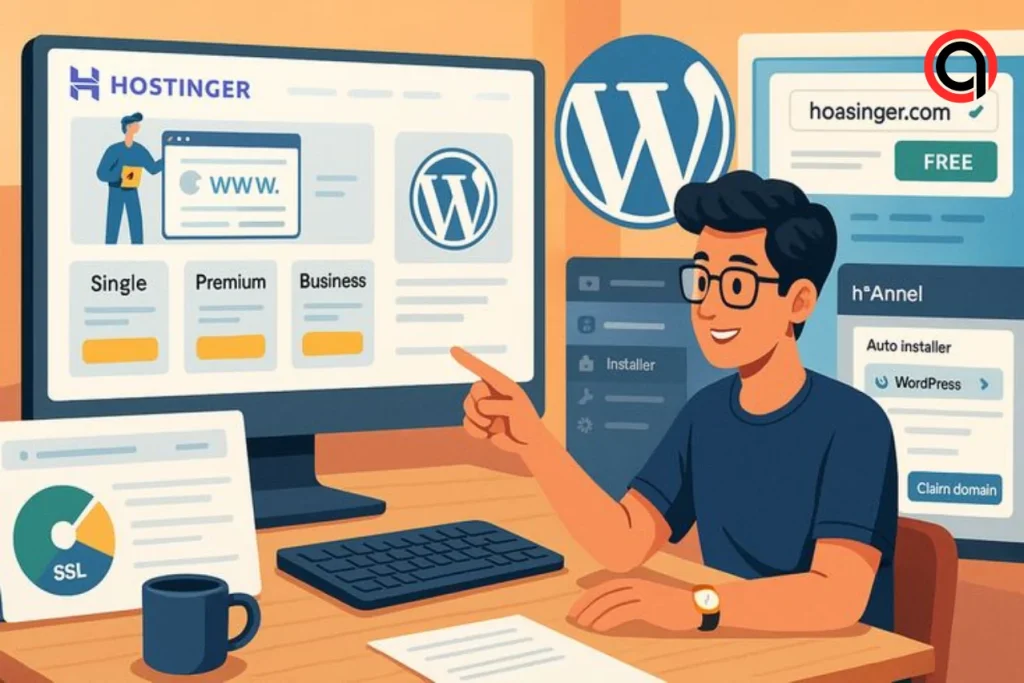
A Hostinger account. This is the most important part of learning how to install WordPress on Hostinger. If you have not signed up yet, go to Hostinger and choose a plan. I recommend the Premium plan because it includes hosting for up to 100 websites, which gives you room to grow. Hostinger is officially recommended by WordPress.org, and their WordPress hosting plans come with everything optimized for WordPress out of the box .
A domain name. A domain is your website’s address on the internet, like yoursite.com. When you learn how to install WordPress on Hostinger, you will be happy to know that most plans include a free domain name for the first year. This saves you about $15 compared to buying a domain separately .
Your login details. Make sure you have your Hostinger account email and password handy. You will also create a WordPress admin password during this WordPress installation process, so keep that somewhere safe .
Once you have these three things ready, you are prepared to master how to install WordPress on Hostinger. Let me walk you through it step by step.
If you want the absolute easiest way to learn how to install WordPress on Hostinger, this is it. The auto installer does almost all the work for you. I recommend this method for anyone who is new to website creation.

Once you are logged in, you are ready to begin the WordPress installation process.
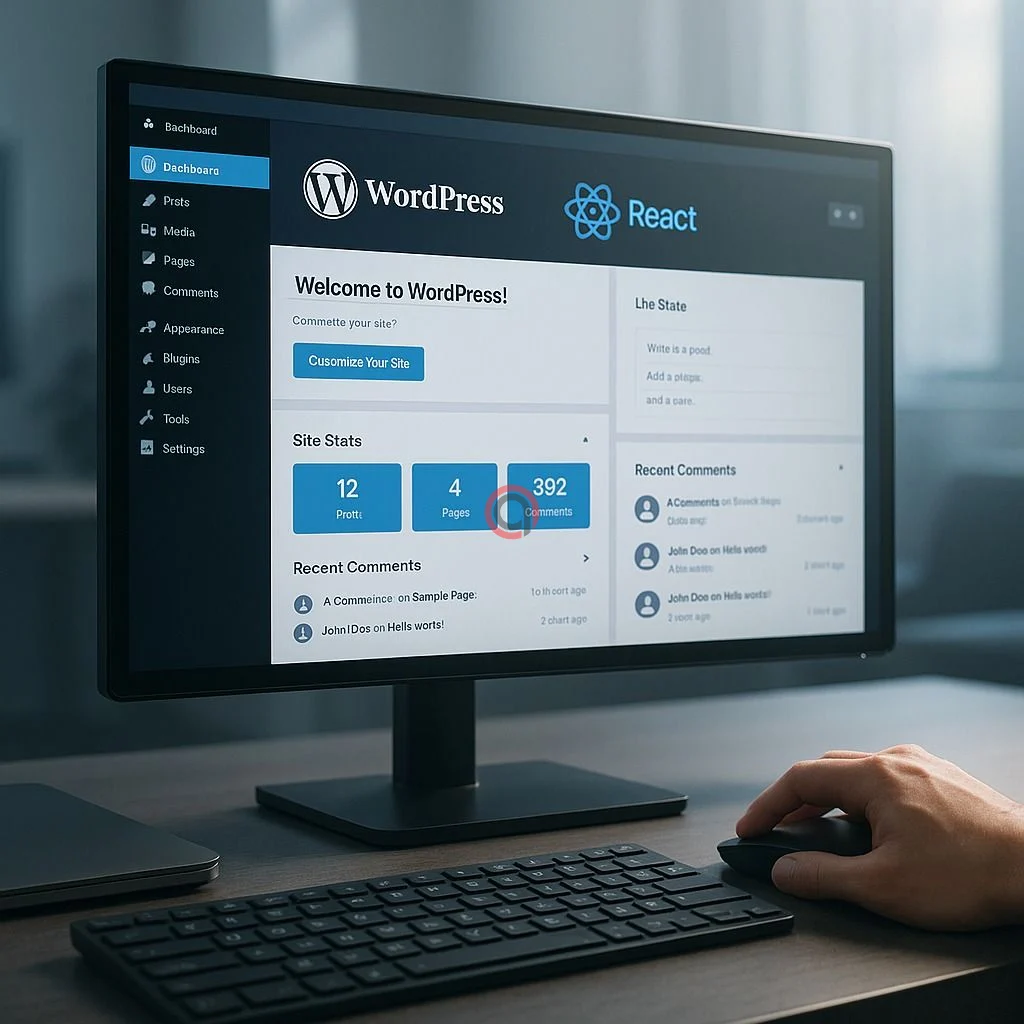
Now comes the core part of how to install WordPress on Hostinger. From your hPanel dashboard, look at the left sidebar. Click on “Websites” to see your hosting dashboard.
Then, navigate to the “Website” menu and click on “Auto Installer.” This is where you will find WordPress and many other applications you can install with one click .
If you do not see the Auto Installer option, make sure you have selected the correct hosting plan. The Auto Installer is available on all Hostinger WordPress hosting plans .
In the Auto Installer, you will see a list of popular applications. WordPress should be right at the top. Click on the WordPress icon, then click “Select.”
This is the moment when learning how to install WordPress on Hostinger becomes really exciting. You are just a few clicks away from a live website.
A pop-up window will appear asking for your website details. Here is what you need to fill in :
Once you have filled everything in, click “Next.”
On the next screen, you will see options for choosing the WordPress version, language, and update schedule. For most beginners, the default settings work perfectly.
Hostinger recommends updating only to minor WordPress versions by default. This is a safe setting that ensures you get security updates without risking major changes to your site .
Click “Install” when you are ready.
This is the part of how to install WordPress on Hostinger where you can take a deep breath. The installation will take about one to two minutes. Hostinger is doing all the technical work for you behind the scenes.
Once the installation finishes, you will see a confirmation screen. Your website is now live on the internet.
To start managing your new site, you need to access the WordPress dashboard. There are two ways to do this:
Method A: Go to “Websites” in hPanel and click the “Admin Panel” button next to your WordPress site. This will take you directly to your WordPress login page .
Method B: Type your domain name followed by /wp-admin into your browser’s address bar. For example, https://yourdomain.com/wp-admin. Then enter the admin email and password you created during this WordPress installation process .
Congratulations! You have successfully learned how to install WordPress on Hostinger using the auto installer method.
If you are setting up a brand new Hostinger account, you might see a different option for how to install WordPress on Hostinger. The onboarding flow appears when you first log in, and it guides you through creating your site step by step.
Here is how to install WordPress on Hostinger using this method:
When you first log in to your Hostinger account, you will see a welcome screen. Click “Create or Migrate a Website” to get started .
From the options presented, choose “Create a website” and then select WordPress as your platform. Hostinger will automatically prepare everything for your WordPress installation .
You will be asked to create your WordPress admin email and password. Choose a strong password and keep it somewhere safe. This is how you will access your site after learning how to install WordPress on Hostinger .
You will also have the option to install WooCommerce at this stage. If you plan to sell products online, go ahead and check that box. If not, you can skip it for now.
Hostinger will show you a gallery of WordPress themes. You can browse through them and select one that matches your style. Hover over any theme and click “Select” to choose it.
If you prefer to start with a completely blank design, click “Build from scratch.” This gives you total control over your site’s appearance from the beginning .
Choose your domain name from the dropdown menu. If you purchased a domain through Hostinger, it will appear here automatically. If you have not purchased a domain yet, you can use a temporary domain to start building your site right away. You can add a real domain later .
Click “Finish Setup” to complete how to install WordPress on Hostinger. The system will take a few minutes to set everything up. Once finished, you will be redirected to your new WordPress dashboard.
That is all there is to this method of how to install WordPress on Hostinger. It is designed specifically for beginners, and it holds your hand through every single step.
Learning how to install WordPress on Hostinger is only the first step. Once your site is live, there are a few important things you should do right away to set yourself up for success.
Go to Settings > General in your WordPress dashboard. Enter your site’s name and a short description (tagline). These appear in browser tabs and search results, so take a minute to choose something clear .
This is one of the most important settings for SEO. Go to Settings > Permalinks. Select the “Post name” option. This changes your URLs from something like yoursite.com/?p=123 to yoursite.com/your-post-title. Clean URLs are better for search engines and easier for people to remember .
Go to Settings > Reading. Make sure the “Search engine visibility” box is unchecked. You want search engines to find your new site .
Return to your hPanel and go to Websites. Click “Dashboard” next to your WordPress site. Under “WordPress Updates,” change the setting to “All updates.” This ensures your site stays secure with the latest WordPress versions .
Every WordPress site needs a few basic plugins to run smoothly. For SEO, install Rank Math or Yoast SEO. For security, use Wordfence. For backups, set up UpdraftPlus. These are all available for free in the WordPress plugin directory.
Even when you follow the steps for how to install WordPress on Hostinger perfectly, things can sometimes go wrong. Here are the most common issues and how to fix them.
If you visit your domain and see nothing, or an error page, there are two likely causes.
First, your domain might still be propagating. Domain propagation can take up to 24 hours to complete worldwide. This is normal, and you just need to wait .
Second, you might need to clear your browser cache. Go to your browser settings and clear cached images and files, then reload your site.
Do not worry. On the WordPress login page, click “Lost your password?” Enter your admin email address, and WordPress will send you a reset link. This is why using a real email address during how to install WordPress on Hostinger is so important.
If the auto installer gets stuck or fails, try refreshing the page. If that does not work, wait a few minutes and try again. Sometimes server loads cause temporary delays. If the problem persists, you can use the manual installation method, but that is rarely necessary with Hostinger’s reliable system .
How long does it take to install WordPress on Hostinger?
The actual WordPress installation process takes about two to three minutes once you start. However, if you need to purchase a domain and set up your hosting account first, plan for about 10 to 15 minutes total.
Do I need technical skills to install WordPress?
Not at all. The auto installer method requires no technical knowledge at all. You simply fill in a few boxes and click buttons. This is why so many beginners choose to learn how to install WordPress on Hostinger.
Is WordPress free with Hostinger?
Yes. WordPress software is completely free and open source. When you learn how to install WordPress on Hostinger, you are only paying for the hosting services, not the WordPress software itself .
Can I install WordPress on a subdomain?
Yes. You can install WordPress on a subdomain like blog.yoursite.com. The process is the same as installing on your main domain. Just select the subdomain from the dropdown menu in the auto installer .
What is the difference between WordPress.com and WordPress.org?
WordPress.org is the free, self-hosted version that you install on Hostinger. WordPress.com is a paid service that hosts your site for you. When you learn how to install WordPress on Hostinger, you are using WordPress.org, which gives you complete control over your site .
Learning how to install WordPress on Hostinger is one of the most valuable skills you can develop as a website creator. Once you master this WordPress installation process, you can launch new sites anytime you want. You can create blogs for your hobbies. You can build websites for your clients. You can start an online business.
The steps are simple. Sign up for Hostinger, log in to hPanel, find the Auto Installer, select WordPress, fill in your details, and click Install. That is truly all there is to mastering how to install WordPress on Hostinger.
I remember how intimidated I felt before my first installation. Now I realize that was completely unnecessary. Hostinger has designed their system specifically for beginners, and they have removed every possible barrier.
So do not wait any longer. Open a new tab, go to Hostinger, and start your WordPress installation process today. Your website is waiting for you.
Ready to install WordPress on Hostinger? Get started at Hostinger here. Their 30-day money-back guarantee means you can try it risk-free.
Need help choosing a theme for your new site? Check out our guide to the best WordPress themes for bloggers here.
Have you tried installing WordPress on Hostinger? Let me know how it went in the comments. I read every reply and answer questions.
More information about Hosting?
More Information about VPN?
More information about SEO Tools?
More information about page-builder?
More information about Grammar?
More information about design?
Do you want to know more about WP-Engine?
Do you want to know more about Ahrefs?
Do you want to know more about Cloudflare?
Do you want to know more about Rank Math?
Do you want to know more about Jasper AI?
Do you want to know more about WP Rocket?